 |
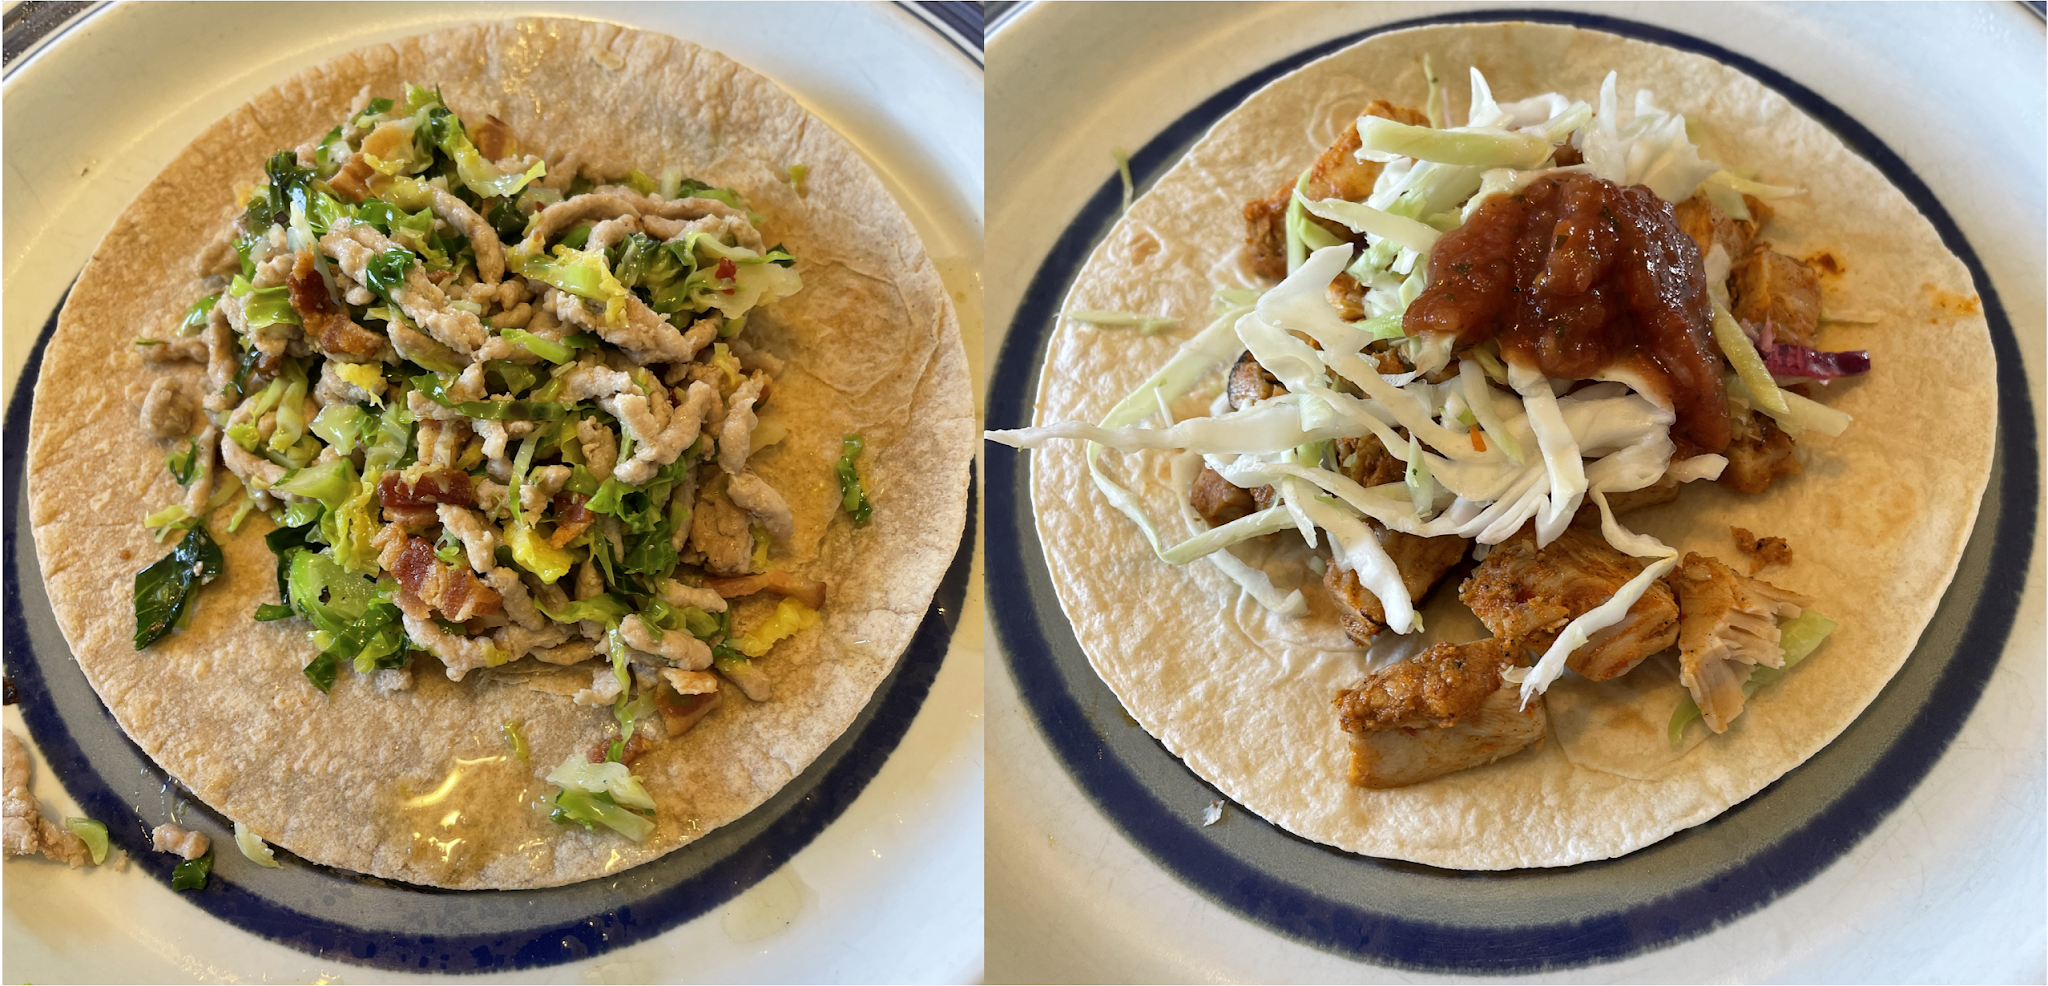
| Left – Bacon, pork, & brussel sprout taco. Right – Chicken, shredded cabbage, and salsa taco. |
 |
| Bacon, pork, & brussel sprout taco filling. |
I’m doing a series of tests on low-carb prepared foods and finally found tortillas that taste good and don’t spike my blood glucose. The La Tortilla Factory flour tortillas, in particular, are shockingly similar to regular tortillas and I only need an additional unit of insulin for two tortillas.
Excited to have something I can use for tacos & wraps, I started playing around with different recipes. I wanted something really quick and simple that I could use for weeknight dinners and that incorporated both meat and vegetables.
I first just tried ground pork with shredded brussel sprouts, but the pork was too lean and the overall mixture was dry and not too flavorful, even with added seasoning. To add both fat and flavor, I added bacon, first rendering out the bacon fat, then using that to cook both the ground pork and the brussel sprouts.
The end result was fantastic and extremely customizable. I’ve since tried it with a variety of meats (turkey, beef, chicken, and pork, both ground and cubed), vegetables (brussel sprouts, cabbage, broccoli), and sauces (salsa, crema, etc.).
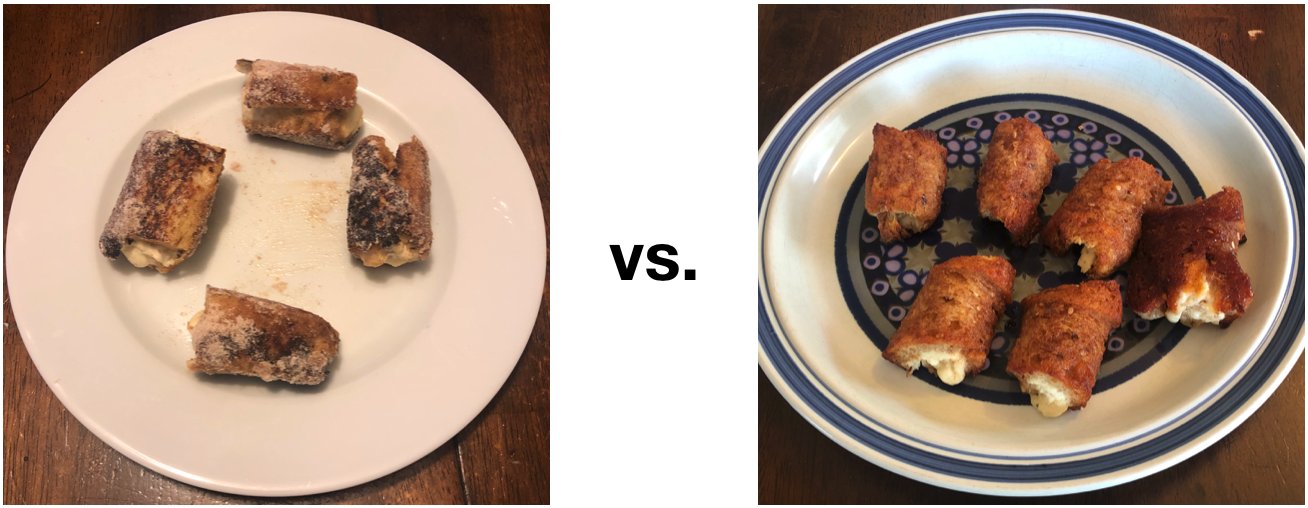
To make it ultra simple, I’ve also made them directly from frozen ground meat and vegetables. Doing that, you can’t get browning on the meat, so it doesn’t taste as good, but works in a pinch.
Recipe below if you want to try them yourself.
Hope you enjoy it!
– QD
Low-carb Tacos
Yield: ~10 tacos
Prep time: 5 MinCook time: 15 MinTotal time: 20 Min
Ingredients
- 10 Low-carb tortillas (La Tortilla Factory is my favorite and has the smallest effect on my blood sugar)
- 4 slices thick-cut bacon, chopped into ~1 cm (~0.5″) pieces
- 450 g (1 lb) ground pork (can substitute with whatever ground meat you like)
- 350 g (1 lb) shredded brussel sprouts (can substitute with whatever vegetable you like, but it works best with something that has a lot of volume, like shredded cabbage or chopped broccoli)
- seasoning to taste (I like salt, pepper, garlic powder, and chili flake)
Instructions
- Add bacon to a cold skillet and heat on medium heat until the fat has rendered out and the bacon is crisp
- Transfer the bacon to a bowl, leaving the fat in the pan.
- Add the ground pork, season with salt and pepper to taste, and cook until browned, but not cooked through, ~1 min.
- Add the shredded brussel sprouts, remainder of seasoning (to taste) and continue cooking until the meat is cooked through and the brussel sprouts are at your desired texture. This takes 3-5 min. for me, but depends heavily on how soft you want your brussel sprouts.
- While the filling is cooking, heat the tortillas in a non-stick pan over medium heat until warm and browning begins to occur (~3 min).
- Serve
Notes:
This recipe is extremely customizable. I’ve tried it with a variety of meats (turkey, beef, chicken, and pork, both ground and cubed), vegetables (brussel sprouts, cabbage, broccoli), and sauces (salsa, crema, etc.).
To make it ultra simple, I’ve also made them directly from frozen ground meat and vegetables. Doing that, you can’t get browning on the meat, so it doesn’t taste as good, but works in a pinch.
Nutrition Facts (per taco)
Calories
251
Fat (grams)
13.8
Carbs (grams)
13.2
Fiber (grams)
7.3
Net carbs
5.8
Protein (grams)
17.4
Macros calculated per taco and using La Tortilla Factory Flour tortillas, Safeway thick-cut bacon, ground pork, and brussel sprouts.